Related
Rain barrels can be an effective way to save water . Just as the name evoke , this excogitation can literally store rainwater inside a barrelful , which can later on on be used to water your garden , your yard , or even wash your car . It is essentially like a supply of gratis water that does n’t bear any chlorine , being perfect for industrial plant care . There are raft of rain cask that you may bribe , but if you ’re concerned in saving money , a DIY project is just what you call for .
Why Make a Rain Barrel?
That sounds like an unnecessary way to occupy the weekend , does n’t it ? Rain barrel are highly underestimate until you realize how much water you could be save , especially if you live in an area with plenty of rain . What do multitude do with a rain bbl , you ask ?
What You’ll Need
In ordination to make your own inexpensive rain drum , you will demand the following :
Step-by-Step Instructions:
Now that we have a list of everything you ’ll need for this project , it ’s clock time to typeset apart one loose Saturday good afternoon and work on your novel rainfall barrel . In the steps listed below , we render to simplify the process so that everyone could empathise how light this DIY project is . We ’ve also include some ideas of likely ascent , one that could make your barrel look like something installed by a pro .
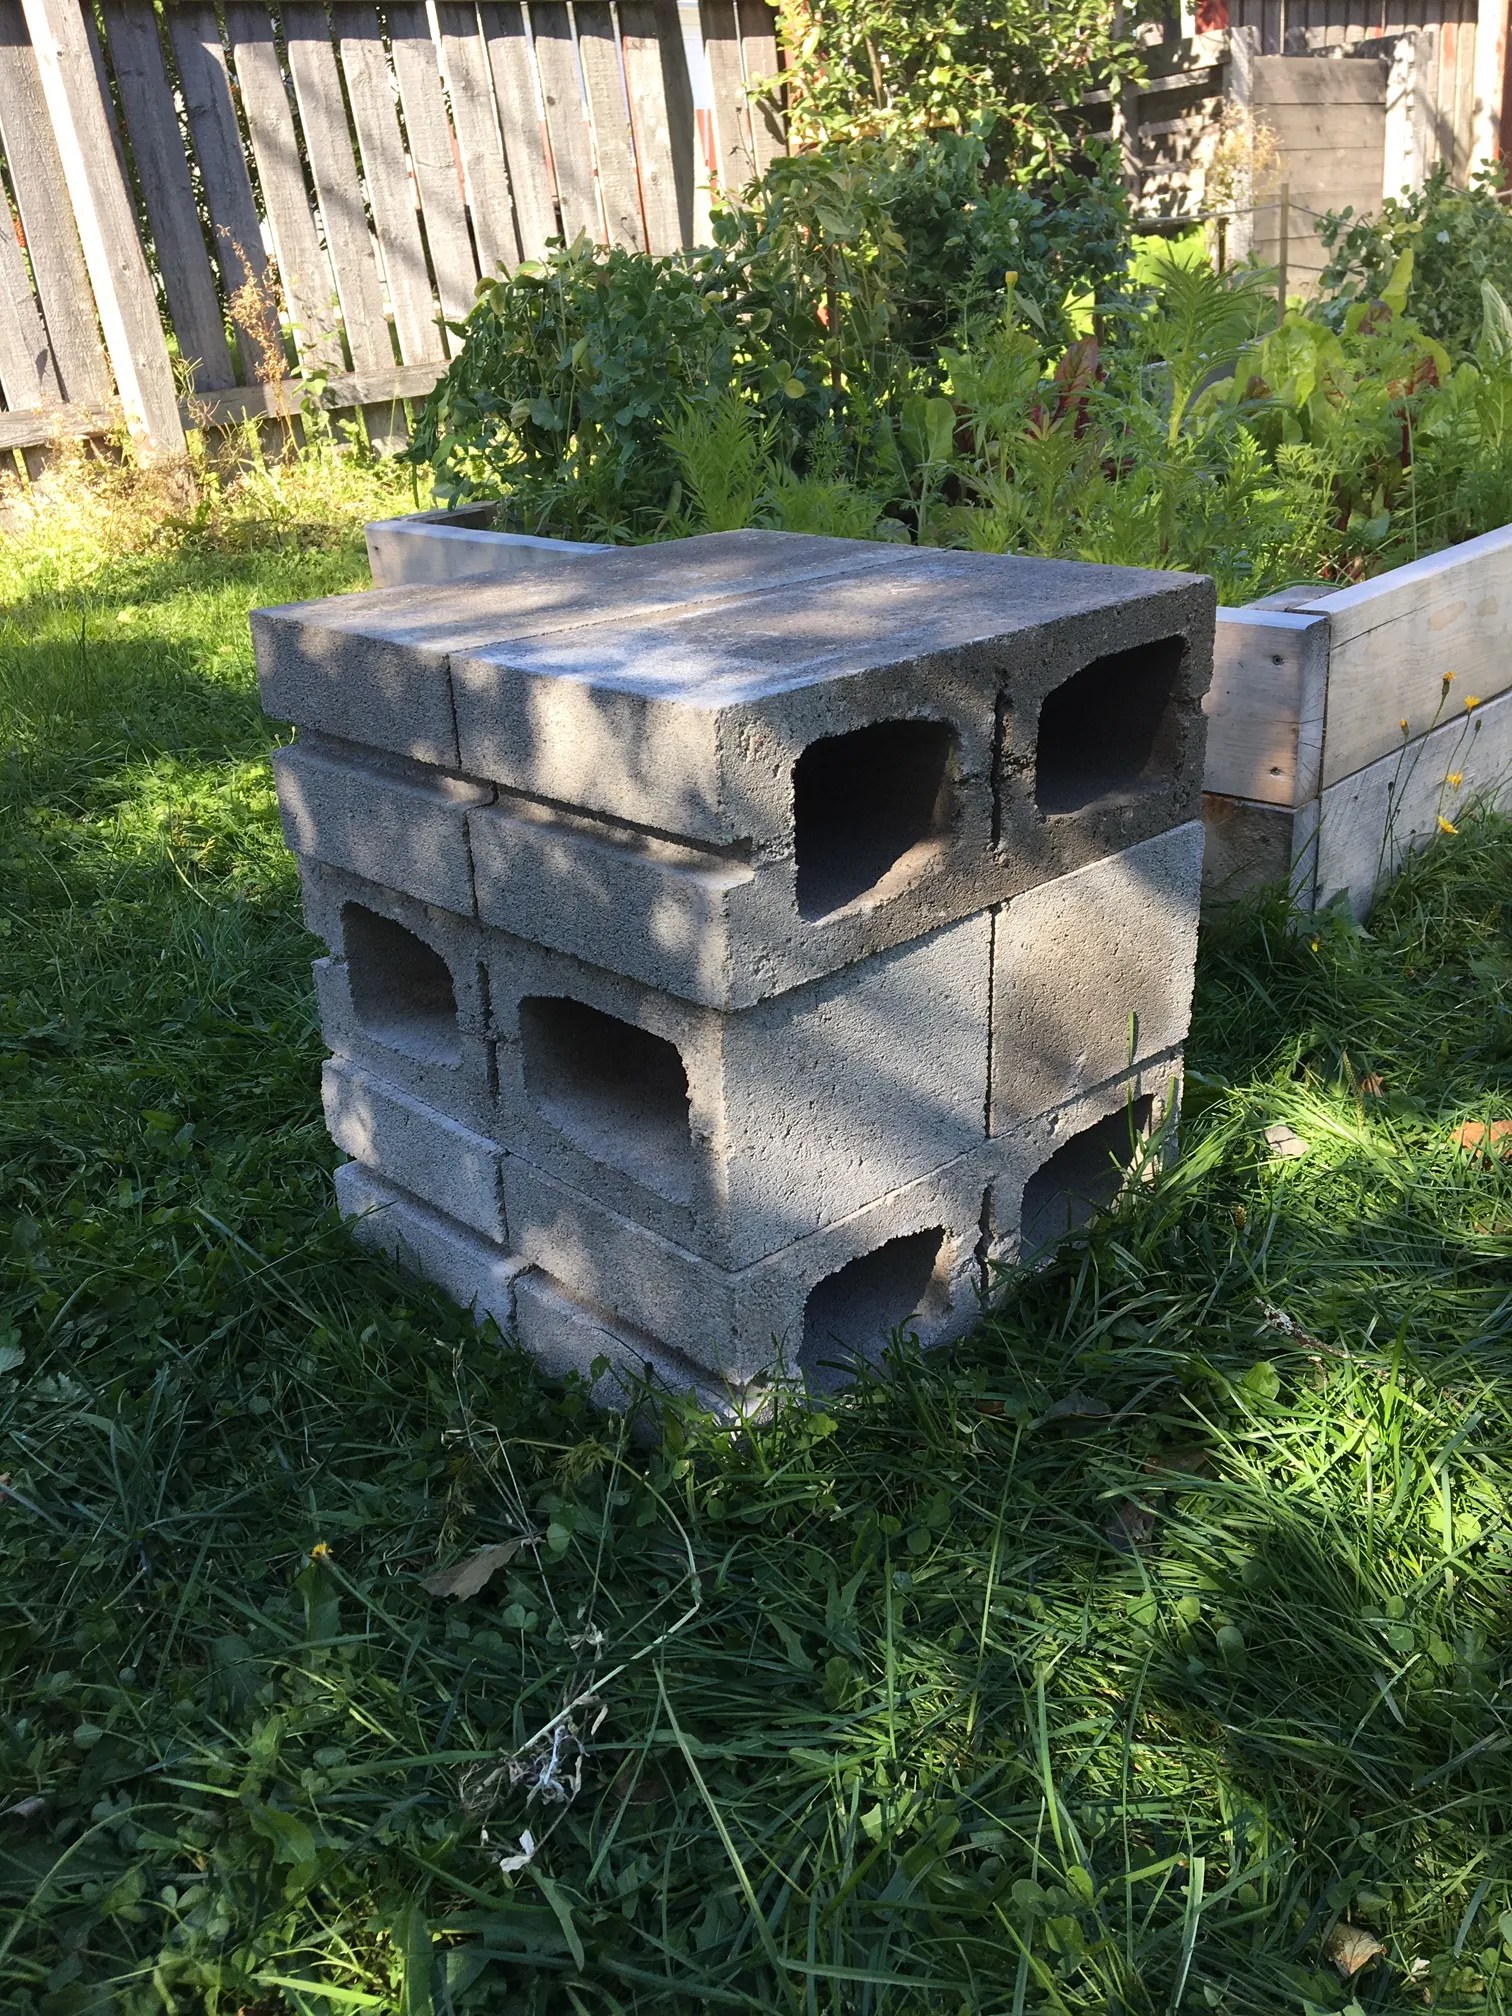
Step One: The Cinder Blocks
Step Two: The Spigot
Step Three: Making the seal
Step Four: Secure inside
Step Five: The lid
Step Six: Secure the lid
And there you have it ! Your very own DIY rain bbl to utilise in your garden or backyard . reasonably soft , right ? At first , I call back this would be far more difficult than it was , but once I had all my instrument and supply in position , it really only took about half an hour from start to finish .
Tip : let the silicone polymer dry for a few days before letting the barrel fill up with water . If you ’re expecting rainfall , then move it inside the garage or under tax shelter for the time being .
Bottom Line
Creating your own DIY pelting barrel is a great agency to save money and take superbia in one more task you ’ve made with your own two manpower . The step are fairly easy to be , and all the pieces that you call for to put the concluding product together are extremely low-priced .
Even if you move really slow , it should only take a few hours to cease this , which include time to go browse for all your supplies . If you ’re convinced that a rainwater barrelful is useful , but you feel it would smash the whole vista of your year , feel loose to paint it however you require or deal the clinker block with a wooden inclosure . And be sure to share pictures of your project below !