Related
Alfalfa sprout are a heavy way to get some nutrients into your diet . They ’re low in calories and high in fiber , and they try great , too ! Alfalfa sprout are packed with vitamins , mineral , and antioxidants , and make a corking addition to soups , sandwiches , and salads !
If you ’re looking for a fun and easy way to add some essential nourishment to your food , then you postulate to assay grow alfalfa sprout .
Growing them is passing easy and all you need is a few simple component and a little second of time . So , give it a try - your taste buds and your body will give thanks you !

What You’ll Need
A Step-By-Step Guide on How to Grow Alfalfa Sprouts
Step One- Rinse!
To rinse your Medicago sativa seeds , simply place 1 tablespoon of seminal fluid in a strainer or colander and run them under frigid water system for a few seconds . Then drain the water and place the ejaculate in a sporting glass jar .
It ’s significant to note- only rinse the amount of alfalfa seeds you plan on propagate . Store any remain dry seeded player in an airtight container .
Step Two- Fill Your Jar with Water
stream about 2 column inch of cool water into the bottom of yourjar . Ensure that all your alfalfa seeds have been submerge and that the seeds are evenly pass around throughout the jar . Next , place the cheesecloth over the scuttle of your jar and secure it with an pliable ring . Let the ejaculate soak in a warm and teetotal office for 12 hours .
Step Three- Drain and Rinse
After 12 hours have passed , drain the weewee via the cheesecloth , and gargle the seeds again , soundly . verify all the water drain from your jar , as you do n’t want your seeds to jump molder . Now it ’s time to start sprouting !
Step Four- Sprouting
There are a few unlike way you could do this , but the most uncouth method is to simply place the seeds in a jar or container and treat them with a damp cloth or paper towel . instead , you could place the jar in a colored and quick pantry . Lay the jarful flat . check that to condition on them daily , rinse and drain the Medicago sativa sprouts as needed .
Step Five- Drain and Rinse, Again
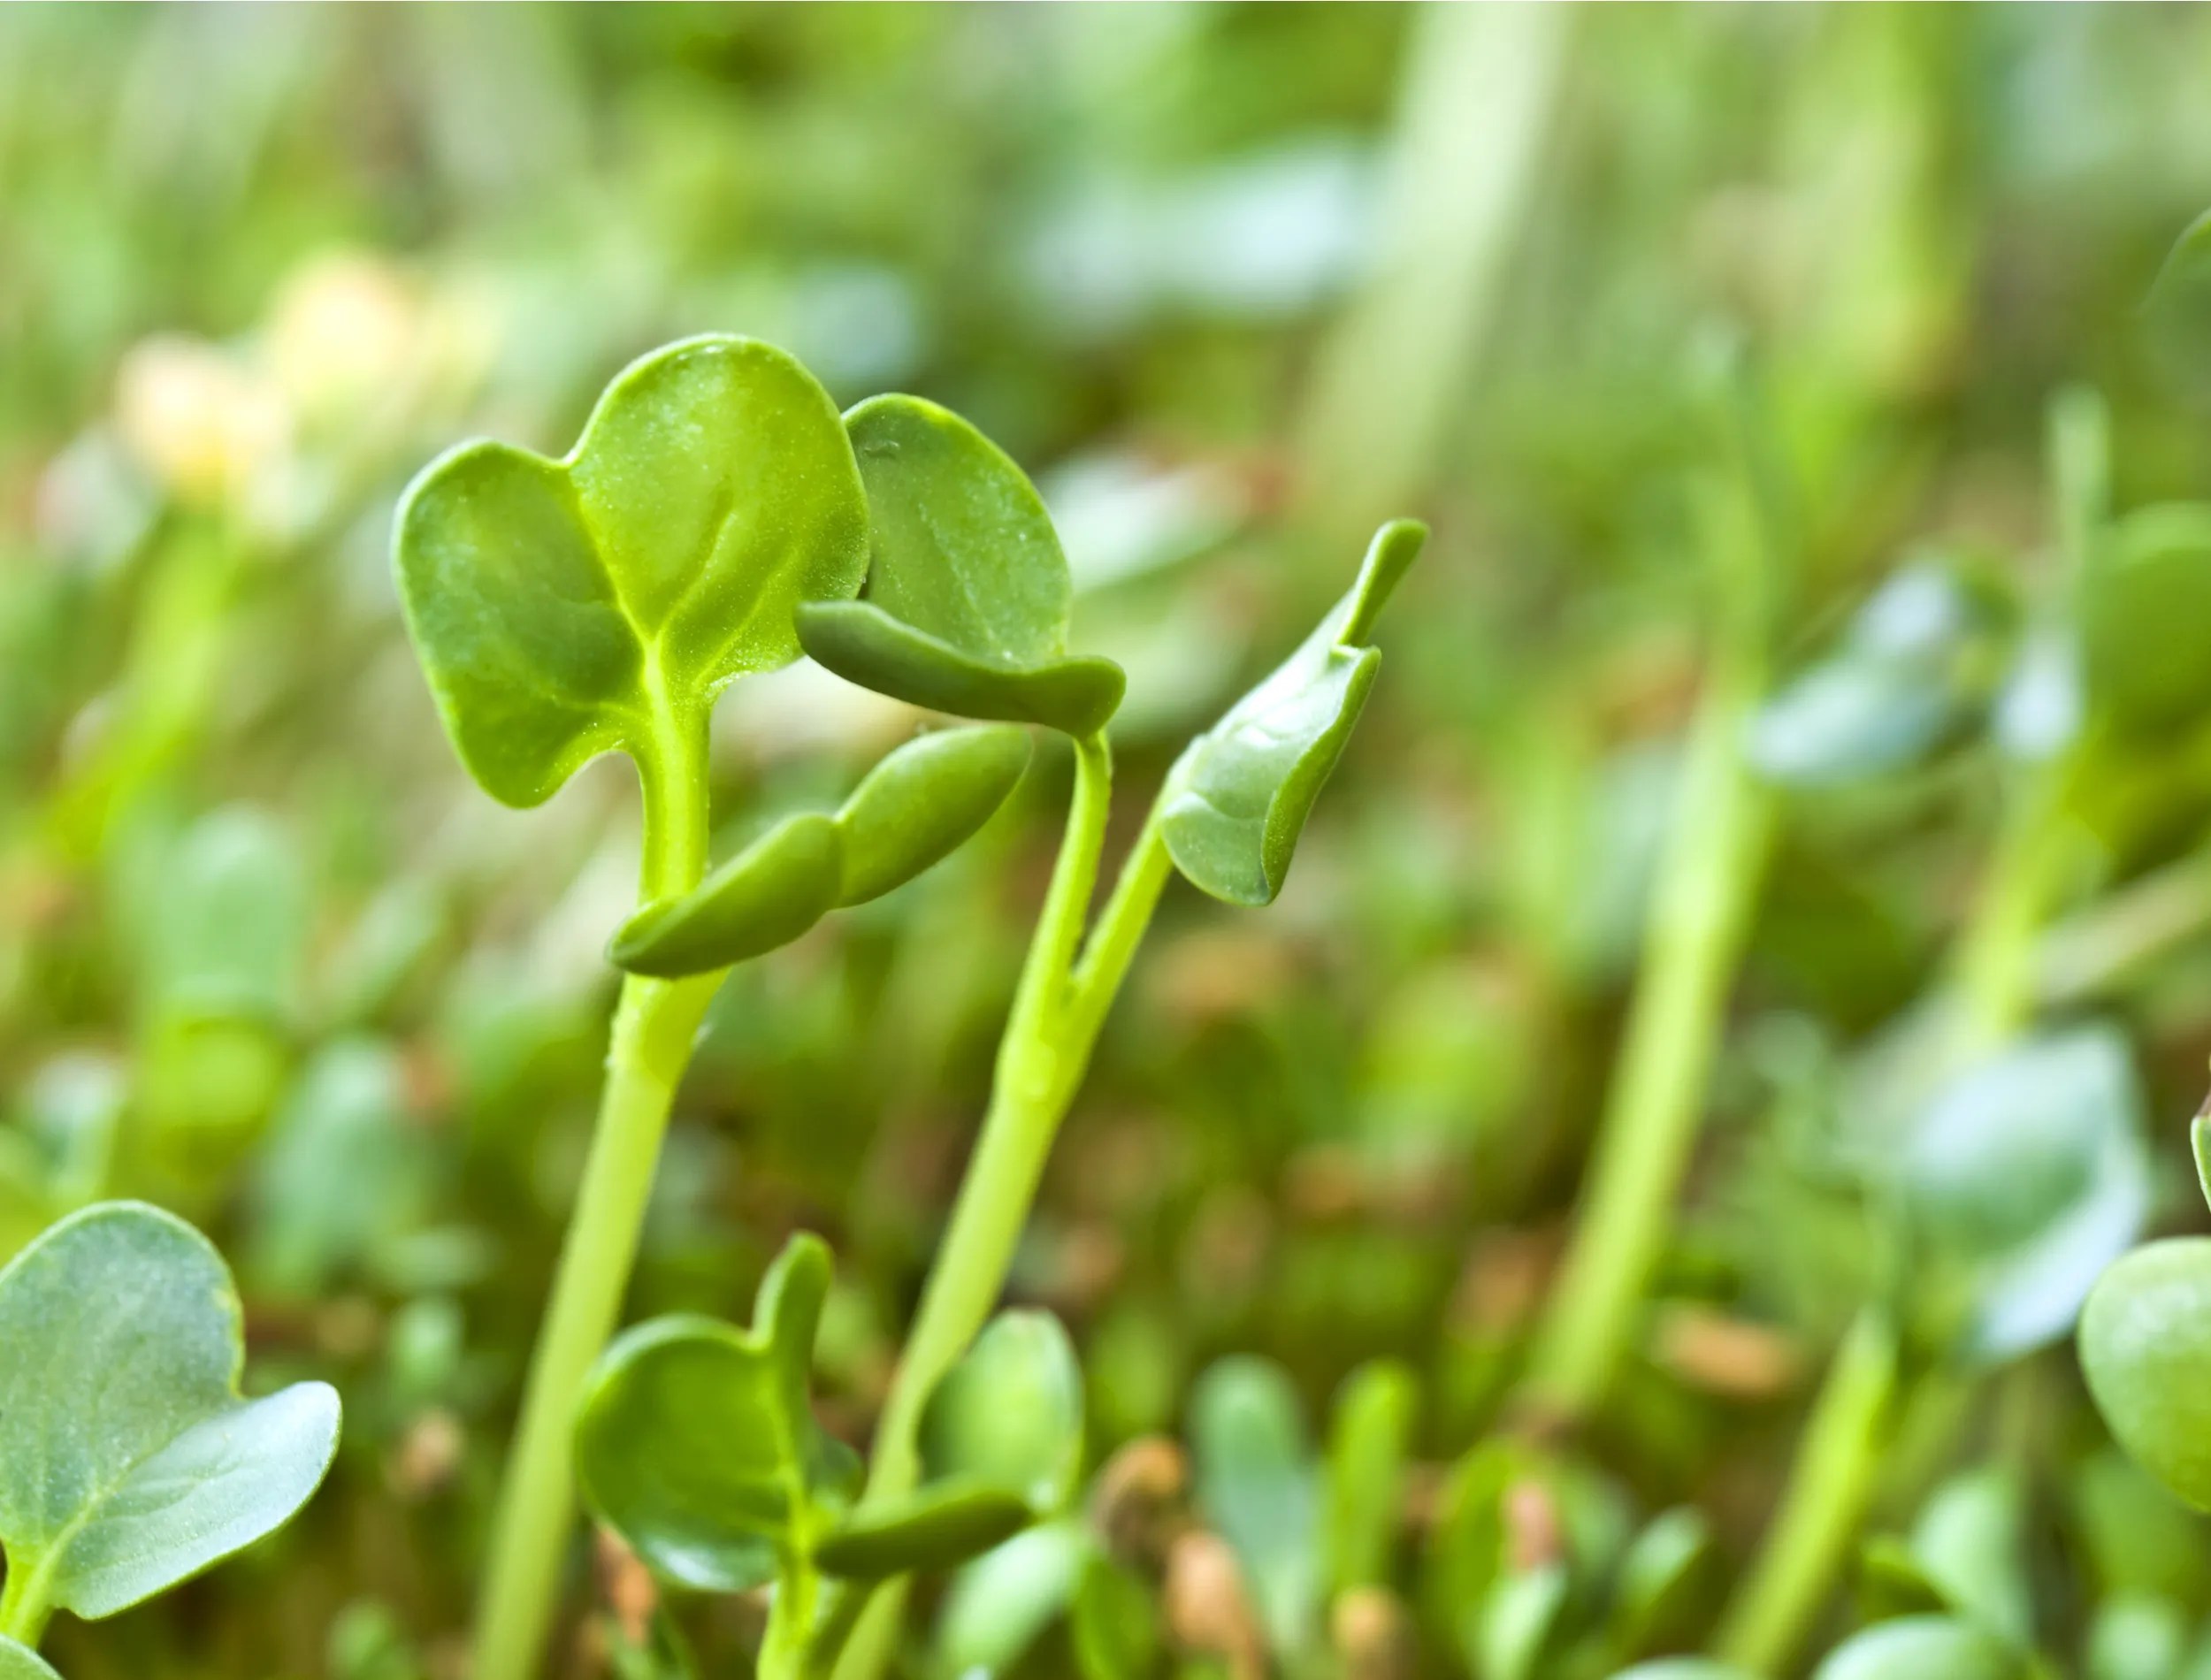
Make indisputable to repeat the appendage of draining and rinsing every 8 to 12 hours , for about 3 to 4 days . After that time , you will observe that the seeds have started to bourgeon to about 1 ½ to 2 inches . At that head , you may scatter them out on a paper towel , and leave them in a sunny spot for about half an hour .
Step Six- Activating the Enzymes
Once your sprouts have had a luck to relish some clip in the sun , it ’s now time to bask the fruits of your labor ! You will discover that they have a shiny colouring material and a more rich spirit , thanks to the activating of their enzymes .
Step Seven- Storage
you could stack away lucerne sprout in a shroud container in the icebox for up to four days .
If you want to salt away them for a longer period of time , you could freeze out them . To do this , only place the sprout in a freezer bag and remove as much air as possible before seal it . icy alfalfa sprouts will last for up to six months .
When it comes clip to apply your frozen Medicago sativa sprout , melt them in the refrigerator overnight before using . Once thawed , be sure to habituate them within four days .
The History of Alfalfa Sprouts
The lucerne plant is a extremity of the legume family , and it is thought to have grow in Iran or Afghanistan . Alfalfa sprouts were introduced to Europe in the former 1800s , and they became popular in North America in the 1920s . Today , alfalfa sprouts are grown all over the populace , and they are a staple in many dish antenna .
Alfalfa sprout are a good source of vitamins A , C , and K , and they are also a good seed of protein and fiber . Additionally , lucerne sprouts are low in calories and fat , and they are an splendid addition to any healthy diet .
In Summary